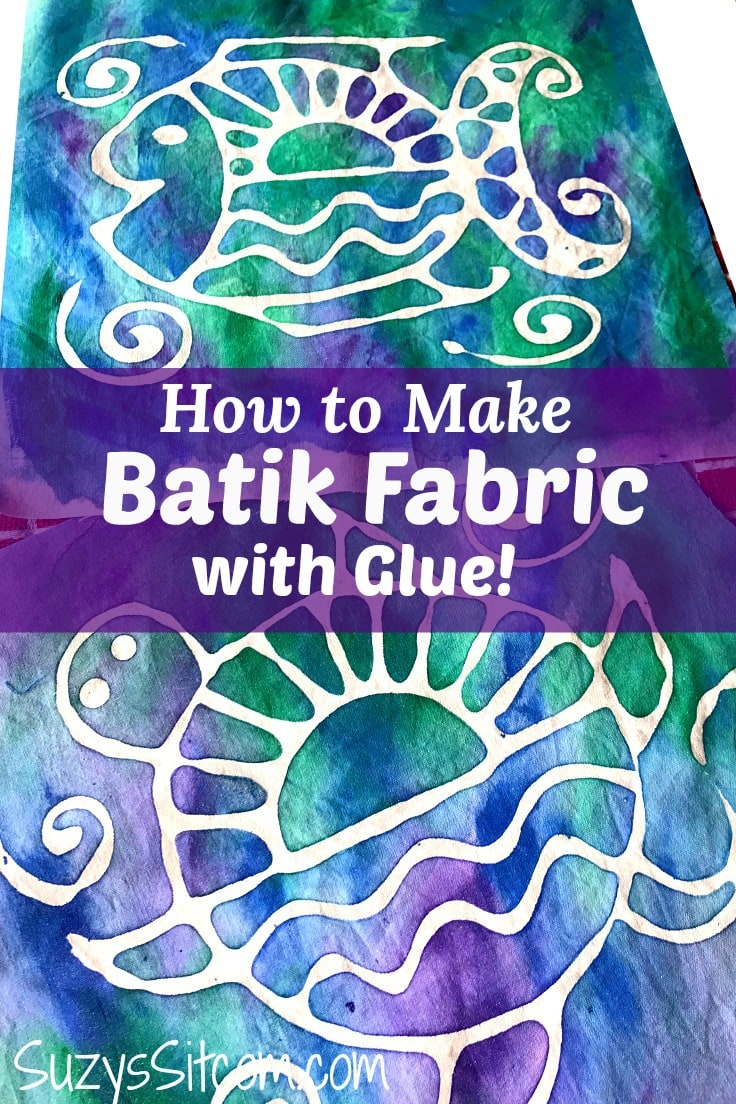
7 Easy-to-Follow Batik Craft Techniques for Beginners
Dive into the vibrant world of batik, a traditional Indonesian fabric dyeing technique that allows you to create stunning, intricate designs. Whether you’re looking to enhance your wardrobe with unique patterns or simply want to express your creativity, batik offers a canvas like no other. This guide will explore seven easy-to-follow batik craft techniques for beginners, providing you with ample inspiration and practical steps to get started.
Understanding Batik
Before we delve into the techniques, let’s understand what batik is. Batik involves a resist-dyeing process where wax is applied to fabric to create intricate patterns. The areas covered in wax resist the dye, while the uncovered areas absorb the color, resulting in beautiful and expressive designs.
The Essential Materials You’ll Need
To kickstart your batik journey, gather some basic materials:
- Fabric: Natural fibers like cotton or silk work best.
- Dye: You can use fabric dyes or natural dyes from plants.
- Batik wax: A mixture of beeswax and paraffin for effective resist dyeing.
- Dyeing tools: Brushes, sponge, or a tjanting tool (a traditional tool used to apply wax).
- Heat source: A small pan or an electric skillet for melting the wax.
- Protective gear: Old newspapers, plastic sheets, or gloves to protect surfaces and hands.
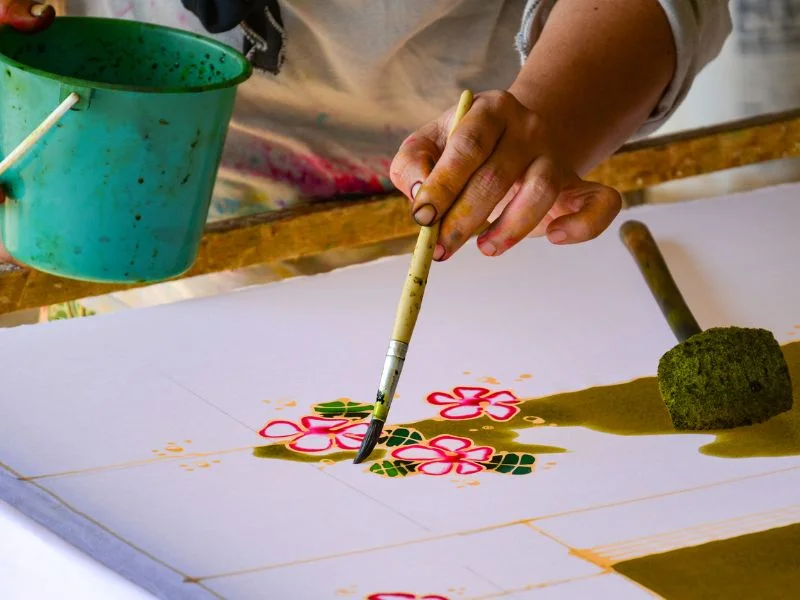
1. The Basic Wax Application Technique
Start off with the most fundamental technique—wax application. Melt your batik wax and use a brush or tjanting tool to apply designs directly onto the fabric. You can create simple shapes like dots, lines, or flowers. Once the wax cools, you’re ready to dye your fabric. This method is the foundation for more elaborate designs.
Tip: Experiment with different wax application tools to see which gives you the best control and finesse for intricate designs!
2. Salt and Water Technique
For a more abstract appearance, try the salt and water technique. First, apply wax to your fabric. Then, sprinkle salt over wet dye once you’ve applied the color. The salt crystals will repel some of the dye, producing unique patterns as it dries. This technique is ideal for creating textured looks reminiscent of natural landscapes.
3. Tie and Dye Batik
This straightforward technique involves tying sections of fabric before dyeing. Twist, fold, or scrunch your fabric, securing it with rubber bands or twine. Dip the fabric in dye, and once it’s dry, untie it to reveal beautiful, unexpected patterns. This method is not only fun but also allows for striking contrast in color.
Example: Create a stunning sunset design by tying the fabric into sections and using orange and purple dyes.
4. Crayon Resist Method
For a playful take on batik, use crayons as a resist. Color directly on your fabric where you want the wax to resist the dye. This method is particularly great for kids or those new to batik, as it combines drawing with dyeing. Once you’ve dyed the fabric, the crayon will act as a barrier, creating fun designs.
Actionable Insight: Use different crayon colors to create layers of detail in your designs.
5. Stencil and Spray Technique
This technique combines stenciling with spray dye for an artistic flair. Cut out designs from a sturdy paper or plastic to create your stencils. Place the stencil on the fabric and use a spray bottle to apply dye over the stencil, leaving the pattern untouched. This method allows for both sharp lines and blended colors, giving you a modern edge to your batik creations.
6. Gradation Dyeing
Create a gradient effect by dipping your fabric partially into dye. Start with a light color and gradually dip more of the fabric until you achieve the desired depth. This method works well for backgrounds in more complex designs or as a beautiful standalone pattern.
Pro Tip: Use multiple dye baths for a richer gradation by repeatedly alternating exposure to varying dye concentrations.
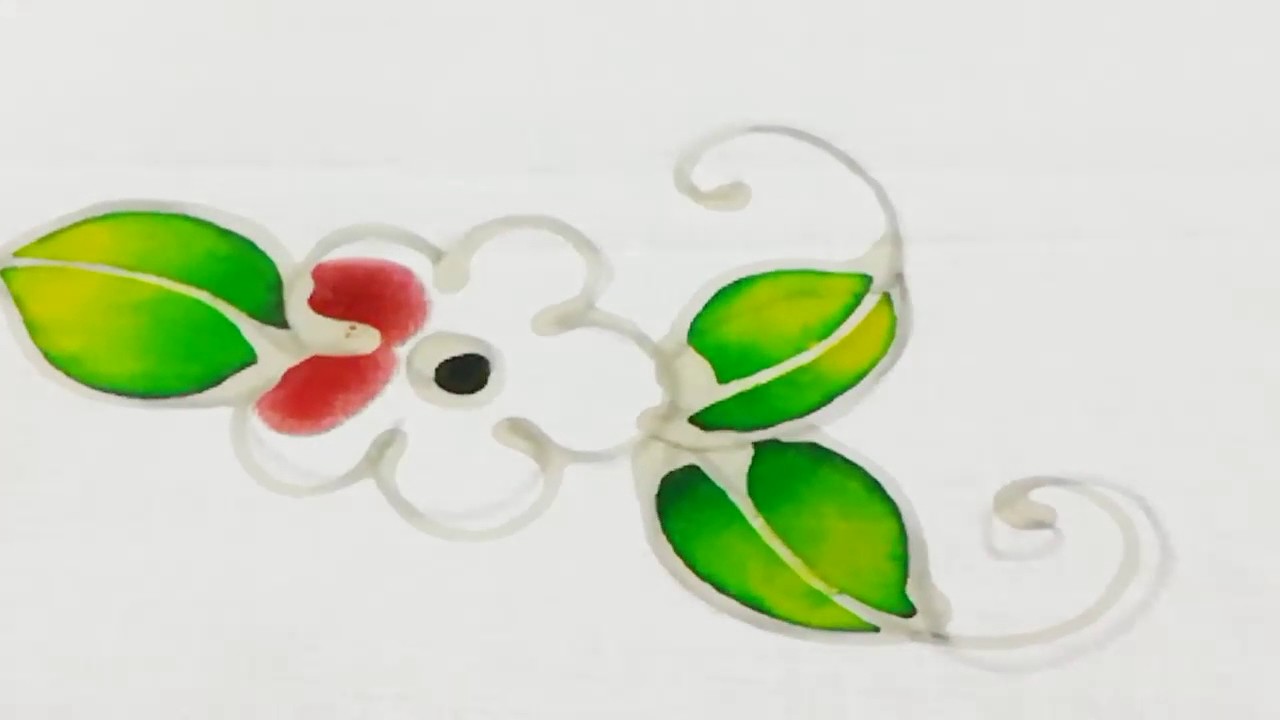
7. Nature Printing
Harness nature’s beauty by using leaves, flowers, or even fruits as stamps. Apply dye or paint to the natural element, press it onto your fabric, and let it dry. This technique creates organic, one-of-a-kind designs that capture the essence of the natural world.
Suggested Materials: Use leaves with intricate veins for more detailed patterns, like ferns or finely serrated leaves.
Conclusion: Unleash Your Creativity With Batik
Batik craft techniques are not only enjoyable but also a fantastic way to express your personality through colorful fabrics. Whether you’re making a gift, creating custom clothing, or simply experimenting, the limit is your imagination. Try out these seven easy-to-follow batik techniques for beginners and explore the limitless possibilities they offer. Don’t forget to share your creations and transform your living space or wardrobe into a vibrant showcase of your artistry.
For further inspiration and resources, check out comprehensive guides on how to do batik at home or dive into detailed tools and techniques on batik essentials. Happy crafting!
Additional Information
7 Easy-to-Follow Batik Craft Techniques for Beginners
Batik is a stunning fabric-dyeing technique that has roots in Indonesian culture and has gained popularity worldwide for its beautiful designs and vibrant colors. If you’re a beginner looking to dive into the world of batik, here are seven easy techniques to get you started, drawing from recent resources and guides:
1. Using Wax Resist
Technique Overview: Wax resist is the traditional method of batik where melted wax is applied to fabric to create a resist-dye effect.
How to Do It:
- Gather supplies like a hot wax tool or a brush and fabric dyes.
- Heat the beeswax or paraffin wax and apply it to the fabric where you want to retain the original color.
- Once the wax cools and hardens, submerge the fabric in dye.
- After dyeing, remove the wax by placing the fabric between paper towels and using an iron.
Tip: Experiment with different designs and layering techniques using wax to create complex patterns.
2. Tie-Dye Batik
Technique Overview: This method merges tie-dye with batik to create fun and simple patterns.
How to Do It:
- Fold, twist, and tie sections of your fabric using rubber bands or strings.
- Apply wax to sections as desired for resist, or skip the wax for a standard tie-dye look.
- Use fabric dyes to apply colors, letting each layer dry before adding more.
Tip: This technique is great for creating random, free-flowing designs and is excellent for a casual batik project.
3. Sponge Painting
Technique Overview: Utilize sponges as stamping tools to create unique patterns on the fabric.
How to Do It:
- Cut sponges into desired shapes (like leaves or circles).
- Dip the sponge in fabric dye and stamp onto the pre-treated fabric (use wax for resist in specific areas).
- Allow the dye to set before washing out any excess dye.
Tip: This method is particularly effective for creating backgrounds or filling in designs with color.
4. Stenciling
Technique Overview: Stenciling gives you more control over your designs with pre-made patterns.
How to Do It:
- Create or purchase a stencil of your desired design.
- Place the stencil over the fabric and use a brush or sponge to apply fabric dye through the openings.
- Once dry, you can apply wax to add more layers or maintain the design.
Tip: Experiment with layering multiple stencils to achieve depth and intricacy in your designs.
5. Using Household Items
Technique Overview: Easy batik can be achieved using common household items for both dye application and resist methods.
How to Do It:
- Items like rubber bands, plastic wrap, and even leaves/flowers can create varied textures and patterns.
- Wrap the fabric, tie knots, or place objects under the fabric to resist dye.
- Utilize different household dyes (like food coloring or fabric paints) to enhance your designs.
Tip: Let creativity lead you, using everyday objects to inspire unique designs.
6. Crayon Batik
Technique Overview: This beginner-friendly technique uses crayons as a resist medium, perfect for families and children.
How to Do It:
- Draw your designs on white fabric with crayon.
- Iron the fabric between paper towels to melt the crayon, sealing it into the fabric.
- Dye the fabric to allow the wax-resisted patterns to emerge upon rinsing.
Tip: This method is fun for kids, allowing them to explore color and design without complex tools.
7. Fabric Paint Batik
Technique Overview: Instead of dye, using fabric paint can simplify the process while allowing for vibrant colors and easy cleanup.
How to Do It:
- Apply a resist medium or wax to areas of the fabric.
- Paint in between waxed areas with fabric paints.
- Once dry, melt the wax away to reveal the design.
Tip: Fabric paint can be a more controlled option, and many beginners find it less intimidating than traditional dye processes.
Conclusion
Batik is a versatile and fulfilling craft that allows for personal expression and creativity. The aforementioned techniques are simple enough for beginners but can lead to stunning results with practice. As you advance, you can combine these methods or even experiment with more intricate designs. For more detailed instructions, tips, and inspiration, resources like Batik Masterclass and Gathered offer comprehensive guides tailored to all skill levels. Happy crafting!